Driving a Classic in a sprited manner can be fun, but only if the car's brakes and suspension are in perfect working order. What's self evident on a contemporary car featuring state-of-the-art technology, becomes a paramount safety issue on a car that was designed in 1941, when World War II was the main event in the news.
|
|
|
Click on any of the above images for a full-size view
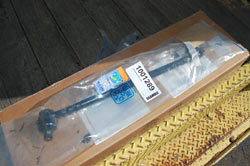
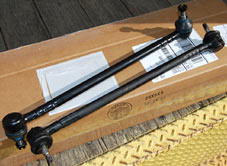
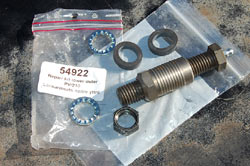
An inspection of the front end components revealed a worn passenger side steering rod. Installing the replacement from SCANDIX was simple and quick. When sending the car to the alignment shop afterward, the technician pointed out that the lower outer control arm bushing on the driver side also had some play, so I ordered a new one right away. Repeated checks ourselves could not find any problems with the old component, however, thus I haven't installed the new one yet.
|
|
|
Click on any of the above images for a full-size view
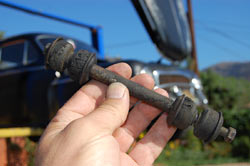
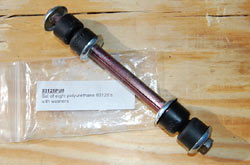
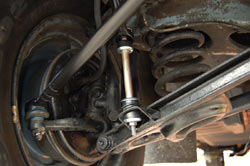
After 47 years on the road, the front sway bar bushings were totally shot. I therefore ordered a polyurethane kit. While the front sway bar was apart, I media-blasted the components and painted them for a cleaner appearance. A test drive afterward showed no noticable difference in handling.
|
|
|
Click on any of the above images for a full-size view
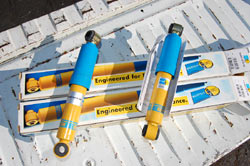
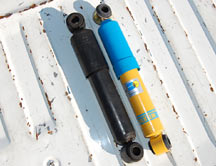
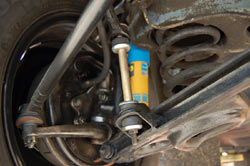
SKANDIX also provided a set of the highly regarded BILSTEIN Sport front shocks. Surprisingly, price-wise there's really nothing available between the standard oil shocks and the at $111.00 each rather expensive BILSTEINs. You can spend more money by ordering KONIs, but there's no merit to that on a street car.
Installation of the BILSTEINs somewhat improved handling, but much less than anticipated.
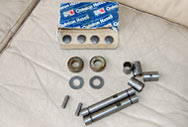
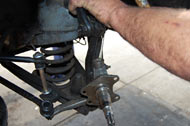
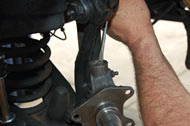
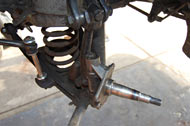
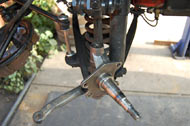
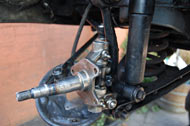
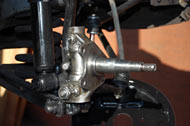
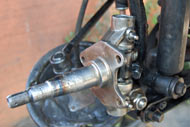
Sadly, my Volvo's king pins--a front end design dating back to the 1930s--had play in them and thus needed to be replaced.
|
|
|
|
|
|
|
|
Click on any of the above images for a full-size view
While replacement parts are readily available, replacing the king pins is about as nasty a job as it gets. You need plenty of time, patience, force, heat, lubricants, and a special reaming kit that I had to buy. It's far from a "bang 'em out and the new ones in" job, as the new bushings have to be reamed down, in baby steps, until the new king pins can be forced in so tightly, that you'd think it's impossible to get them in. Zero play is the goal here. I actually had to bribe our fearless in-house McGuiver Helmut with an extra 6-pack of ice cold beer to take on that task. I, myself, was up to my elbows in grease, which is the main reason that I took less detail photos than I wish I had.
Click on the above image for an XXL-sized view (925 x 550 pixels)
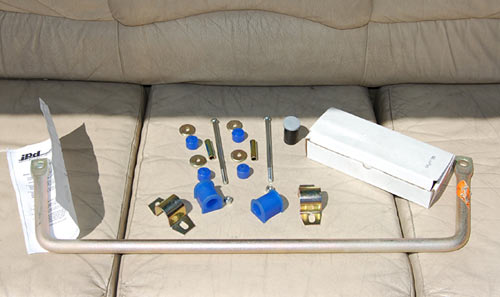
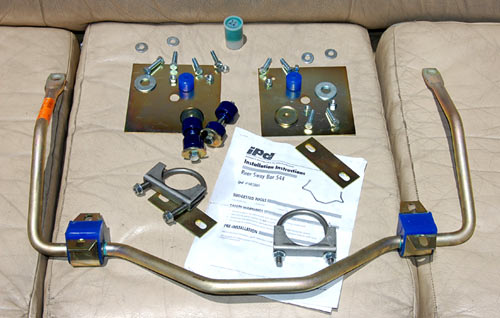
Long on my wish list, the ipd sway bar kit was always a bit expensive for my taste at $368.00. So when a N.O.S. set was listed for auction on eBay, I was determined to snipe it, and at $228.88, I did.
As a retired road racer let me tell you that the installation of the ipd front sway bar totally transformed the car's handling. The transformation was nothing short of breathtaking. In fact, handling has improved so dramatically that I cannot recommend enough to order the now separately available front kit (part # 6A7805) from ipd. At $188.00, it's the best bang for the buck you'll ever spend on your PV544!
Let's move on to the rear end now.
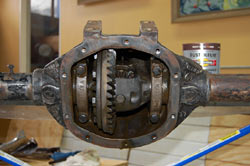
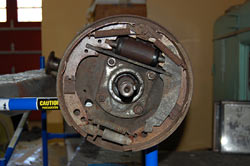
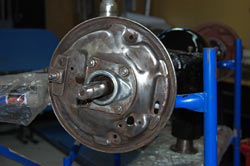
From early on, I experienced a notable "clunk" sound when accelerating and deccelerating. Close inspection revealed a totally worn our differential. I also had a leaking right rear axle seal, which helped keeping the diff's oil level low and the right rear brake nicely lubricated.
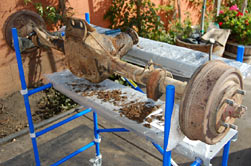
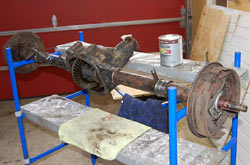
Luckily, I was able to buy a complete, used rear end from a '67 wagon for only $100. Since it came with a 4.10 gear ratio instead of the 4.56 gears all of the PV544s are blessed with, it contributes in keeping the revs down somewhat. Hey . . . every little bit helps!
|
|
|
|
|
Click on any of the above images for a full-size view
De-crusting and cleaning the "new" rear was another job that wasn't much fun. I basically used power-operated wire brushes of various sizes until everything looked clean "enough." I got new brake cylinders but reused the brake shoes as they were still fairly new. All said and done I spent about a month on-and-off on this project until the rear was primered, painted, and ready to be installed.
|
|
Click on any of the above images for a full-size view
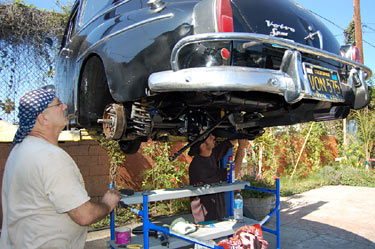
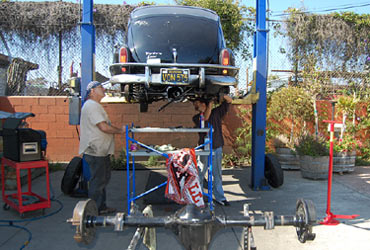
Although there's a bit more wrenching involved then yours truly anticipated, swapping rear ends takes only an hour to an hour and a half, if you have 4 hands, that is. At some point of the job you probably will need 4 hands anyway, because holding up a complete rear end and wrenching at the same time is a bit difficult.
|
|
Click on any of the above images for a full-size view
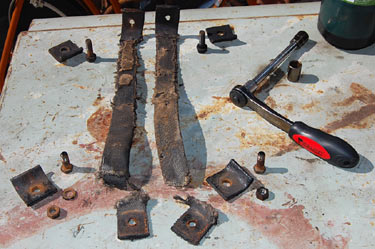
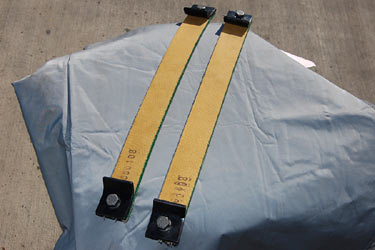
The function of the axle straps is to limit the rear axle's travel when getting airborne. Looking at the original ones that were still mounted, you'll understand that even in Southern California time marches on mercilessly. Spending a $20 bill for a new set of limiting straps seemed like a good idea, but I media-blasted, painted, and reused all of the original hardware.
Click on the above image for an XXL-sized view (950 x 609 pixels)
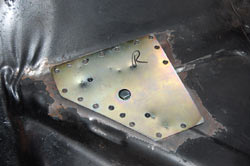
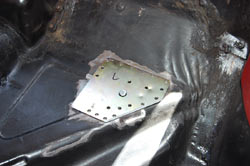
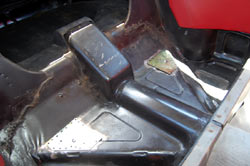
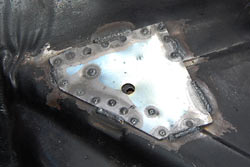
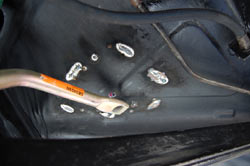
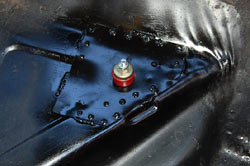
And then there was the ipd rear sway bar kit, waiting to be installed. In order to do that, the sway bar has to be mounted loosely on the rear end and centered as perfectly as possible. Then, the car has to be lowered to the ground in order to find the exact spots where the holes for the bolts that go through the eyelets on both ends need to be drilled. You don't want to make a mistake here, so take your time and bounce the car up and down a few times before you fire up the drill.
|
|
|
|
|
|
Click on any of the above images for a full-size view
Since there's enough force at work to lift one side of the car, the ipd kit comes with generic reinforcement plates which need to be cut and trimmed to fit. Since I didn't want to chance damaging the floor pans, I drilled more than enough welding holes, then spot and bead welded them to the floors. My kit had some incorrectly sized rubber donuts, so I had to improvise using leftover items from the past. And, yes, once I get my hands on a can of semi-gloss black, I will repaint the glossy areas to match.
Click on the above image for an XXL-sized view (925 x 603 pixels)
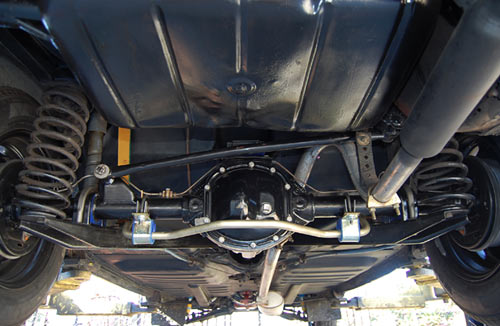
Although I misplaced many of the photos I took, you probably can tell that the freshly detailed rear looks quite spiffy. Bad news is: I can't recommend the rear sway bar. While the front one worked miracles for the handling, the rear bar stiffens up the car so much that it becomes uncomfortable to drive, even with zero pre-tension dialed in. Unless you're working on a track demon, save your money on that one.
Click on the above image for an XXL-sized view (900 x 583 pixels)
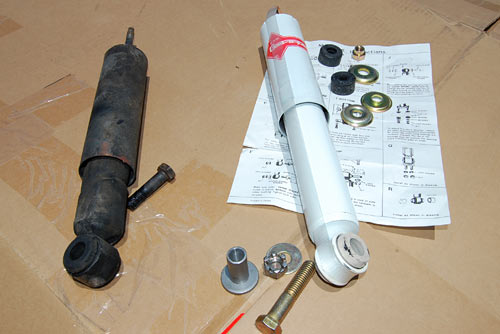
Only items left to replace were the rear shocks. Since the rear turned out to be much tighter than I bargained for, I got the KYB Gas-A-Just shocks (part #5552) for $36 each, instead of $115 a pop BILSTEINs. From the seat of my pants I'd say they are as stiff as any sport shock out there: a bargain!