Another problem area is the trunk.
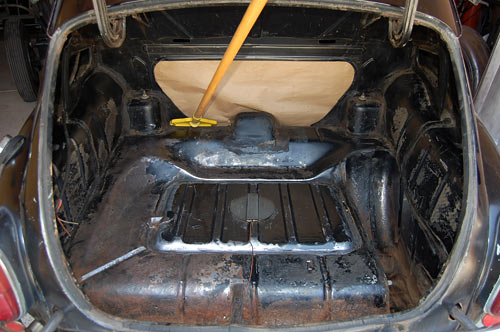
Click on the above image for an XXL-sized view (900 x 597 pixels)
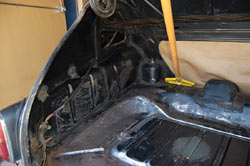
Reportedly, the car was backed into a tree at some time. As a result, the rear bumper is too crunched to be straightenend and will be replaced with a nicely aged--but perfectly straight--used one, which I was lucky to purchase for $130.00 plus shipping from a fellow PV544 enthusiast in North Carolina.
|
|
|
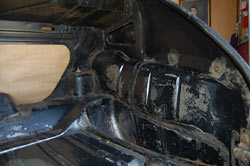
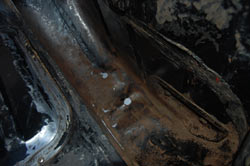
Click on any of the above images for a full-size view
The pushed-in bumper damaged the rear valance, which I ordered new, together with a lower rear trunk panel, which on my car has rust due to a leaking trunk seal. Finally, there's some rust in the bottom of the spare wheel well. Since a complete replacement part is not only very expensive, but also not neccessary here, I will perform the repair using a self-fabricated repair panel.
Once all the parts are at hand, we will strap the car on a frame machine to make sure everything is perfectly straight, before we even fire up the cutting wheel.
Again, once these repairs are completed, you will be hard pressed to tell that they were done at all. Nothing will look "better than new" or even "like new"; everything will look like it's nicely preserved, yet 46 years old, which is exactly the way I like it!
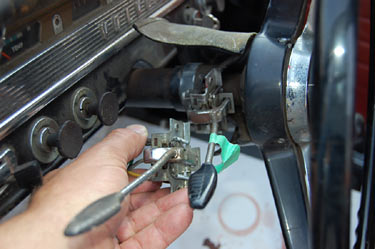
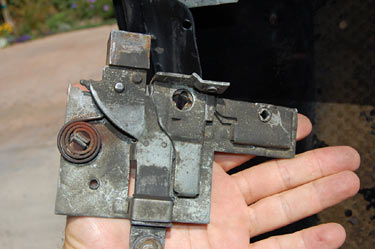
There were a few other things that were bugging me: the turn signal would not cancel by itself and the driver side door handle was hanging down.
|
|
Click on any of the above images for a full-size view
Vintage Import Parts provided me with a patinated, yet perfectly working turnsignal lever, which set me back only $25.00. Installing it was a brisk, thanks to a broken (read: partially missing) steering wheel cover. All it takes is removing 2 screws from the old switch, move over 3 electrical shoes to the new switch, then reinstall the two screws. Voila!
Considerably more difficult was replacing the door lock, one of the Achilles Heels of the Volvo, and at $100 a pop for a new one, quite expensive! I got a used one, plus new springs, but only with the help of Helmut, our in-house McGuiver, I was able to perform this job. It requires installing 2 springs that simply refuse to be installed: the snail-shaped one, that keeps the door handle up, and another one, that is mounted inside the door between the lock and the door handle, a hard-to-reach area, unless you have the flexibility of a baby octupus. If you need to do this job, be prepared for some major cursing!
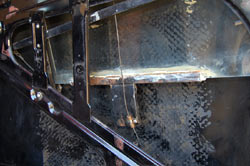
Just when I thought I was done, another problem arose: the passenger side window got stuck on its way down. Great!
|
|
|
Click on any of the above images for a full-size view
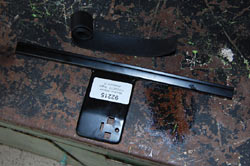
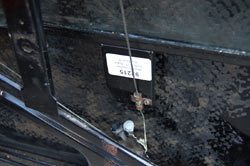
A closer look revealed a previous band-aid repair of a worn window chanel with liquid nails. Only way to do it right was ordering a new replacement chanel, which comes with a rubber-type insert. If you do this job, make sure you use weather stripping adhesive on both sides of the rubber chanel insert and allow it plenty of time to dry before you start cranking again.
Let's now move to the interior, shall we?
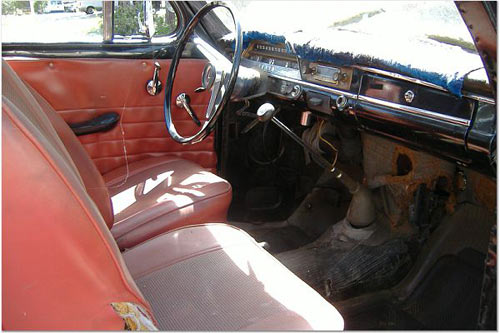
Click on the above image for a slightly larger version (600 x 400 pixels)
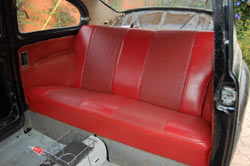
When I acquired the car, it came with a glued-on, faded shag carpet on the dashboard and a very tired red vinyl interior which--at the time--I believed to be original.
Thus, initially I intended to only "fix" the rips in the seat covers, perhaps replace a section or two of the upholstery, but . . .
|
|
|
|
|
|
Click on any of the above images for a full-size view
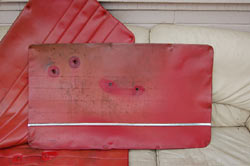
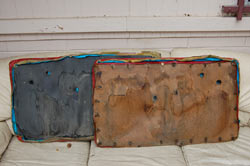
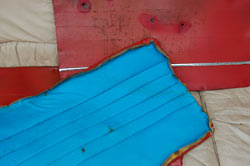
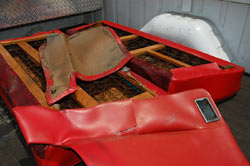
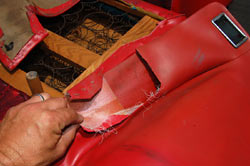
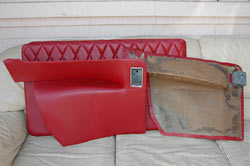
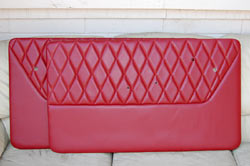
. . . once the seats were at the upholstery shop, and we peeled off various layers from seats and door panels, we discovered that all of the upholstery had been redone at some point, to a very low standard.
The solution: e-v-e-r-y-t-h-i-n-g had to be redone from scratch, period.
|
|
|
Click on any of the above images for a full-size view
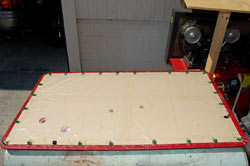
The stapled, two-piece rear cardboard side panels could be salvaged and "only" needed new foam and vinyl covering, but the door panels had to be built from scratch, using remainders of soaked original cardboards as templates. Just to get all of the holes for the door clips "right" took several attempts.
Note that I taped plastic to the back and used all new mounting clips.
|
|
Click on any of the above images for a full-size view
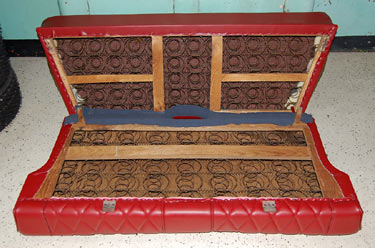
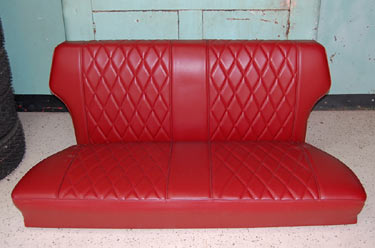
Wooden rear seat frames and springs were beautifully preserved; however, all of the horsehair padding had deteriated and needed to be replaced.
|
|
Click on any of the above images for a full-size view
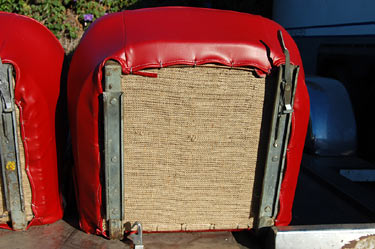
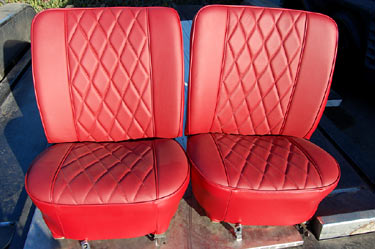
The front seats also needed a complete built-up. Now they feature correct jute covering on the bottom and are firm again like brand new ones.
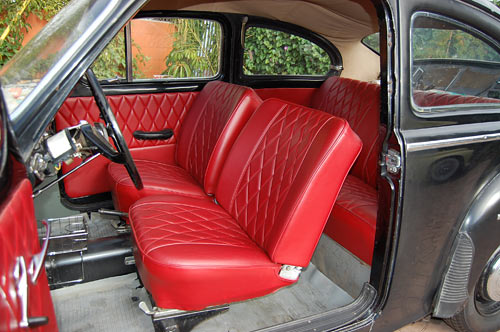
In a moment of weakness, I asked our upholstery guy to buy a half cow hide of matching leather for the surfaces of the front seats. It's incorrect for the PV, expensive, and I wouldn't do it again, but at the time the intoxicating aroma of genuine leather was worth the price of admission to me.
So how much did I pay, you may wonder? Well, since I had to wait for about 2 months for the work to be completed, I got away with a total of $900.00 for everything: cardboard, vinyl, leather, and labor, which is an incredible bargain.
Click on the above image for an XXL-sized version (950 x 634 pixels)
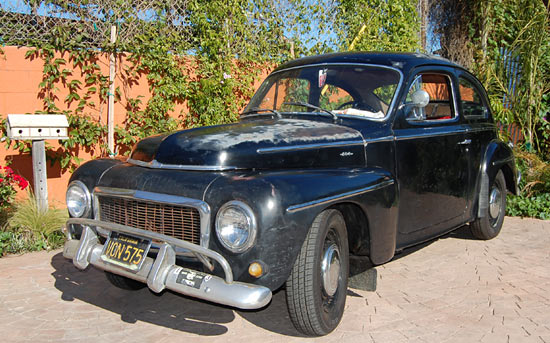
It's the end of the year 2008 now; seven months have passed since I adopted the Volvo, and although I've been driving it quite a bit lately, I've constantly invested time and money sorting it. At this point in time, and including the parts I've already purchased, the once $1,000 car has already swallowed another $4K--not counting my own time--and the light at the end of the tunnel is barely visible. Nobody wins even partially "restoring" an inexpensive car. Looking at its exterior, which has been thoroughly cleaned, clay-bared, and waxed, would you believe that this . . . uhhh . . . thing is now already a $5,000 car?
Of course not!
|
|
Click on any of the above images for a full-size view
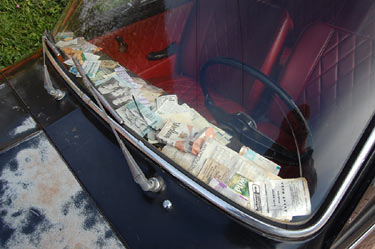
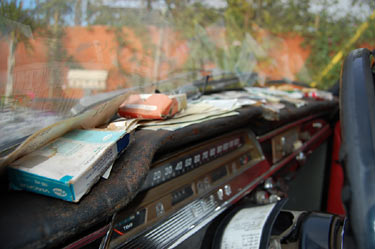
Then, once you approach the car, it doesn't get any better. First thing you'll see is the infamous trashboard, an idea that I adapted from the incredible Joe Dirt movie car which we once owned. A trashboard is a dashboard that is covered with items "normal" people would never put there in the first place: parking tickets, an almost empty Marlboro cigarette pack, old movie and event tickets, loose peanuts, etc. Use your imagination. Important is that the decoration doesn't look staged, but organic, as if grew naturally, over a long period of time of neglect and not giving a rodent's behind.
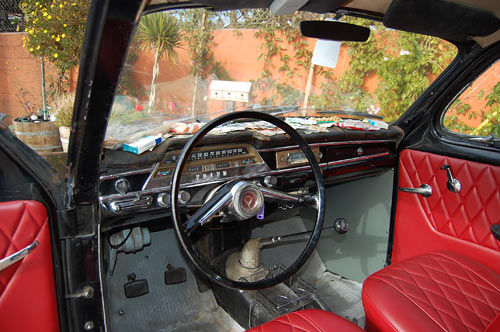
Click on the above image for an XXL-sized version (900 x 597 pixels)
The dashboard itself I cleaned up sympathetically, even polished the chrome with a toothbrush. After our in-house mechanic Helmut rebuilt the heater motor with all new bushings, I can proudly claim that all gauges and switches work as they should. Yes, even in Southern California it's nice to have a working heater for those 50-degree winter nights!
Stone gray kick panels are new reproductions; anxient wrap-around registration holder on steering column is a flea market find.
|
|
Click on any of the above images for a full-size view
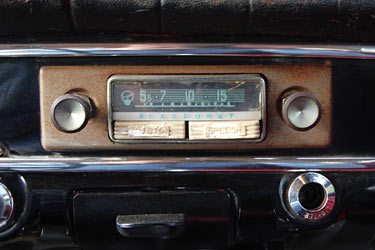
One item that really turns me on is the original and so wonderfully austere BLAUPUNKT AM radio. I've seen quite a few vintage radios in my time, but never one that has aged so dramatically and features but two buttons: one for Music and one for Speech! What are the odds of finding one that has survived 46 years in the same car?
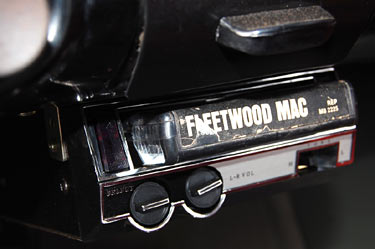
Of course, it's only natural that the owner of this Volvo would have added an underdash 8-Track player, once they became available in the late 1960s, so that's what I did as well. What I never really understand, however, is people who put a modern audio system into plain sight. It's so out of place like a grandma with puffy, purple hair. Please don't do that to a Classic; if you must have a CD-head-unit, either buy an old-looking conversion or hide it in the glovebox!
Click on the above image for an XXL-sized version (900 x 597 pixels)
I was able to salvage most of the original gray rubber flooring and the--nailed on--cardboard panels below the rear bench seat. The expertly upholstered seats look spiffy and the aroma of the cow hides that greets me every time I slide into the car is priceless.
One other item I added is the chromed basket with dual built-in cupholders on the center console. Cupholders in a classic car? What's wrong with me?
Back to page 1